Fake autumn made with Lightroom – or: pictures of green leaves are getting orange
The title might be a bit misleading of what I've actually done with Adobe Lightroom - but the article describes pretty well how an ordinary
photo of a forest in the late summer turns within minutes into melancholic autumn.
To be honest, I'm doing photography as a hobby. Thus, my workflow might not be 100% perfect.
But on the other hand, how many professional photographers could tell you intimate details about SIP INVITEs or BGP routing? ;-)
Step 1: We took a photo of a forest
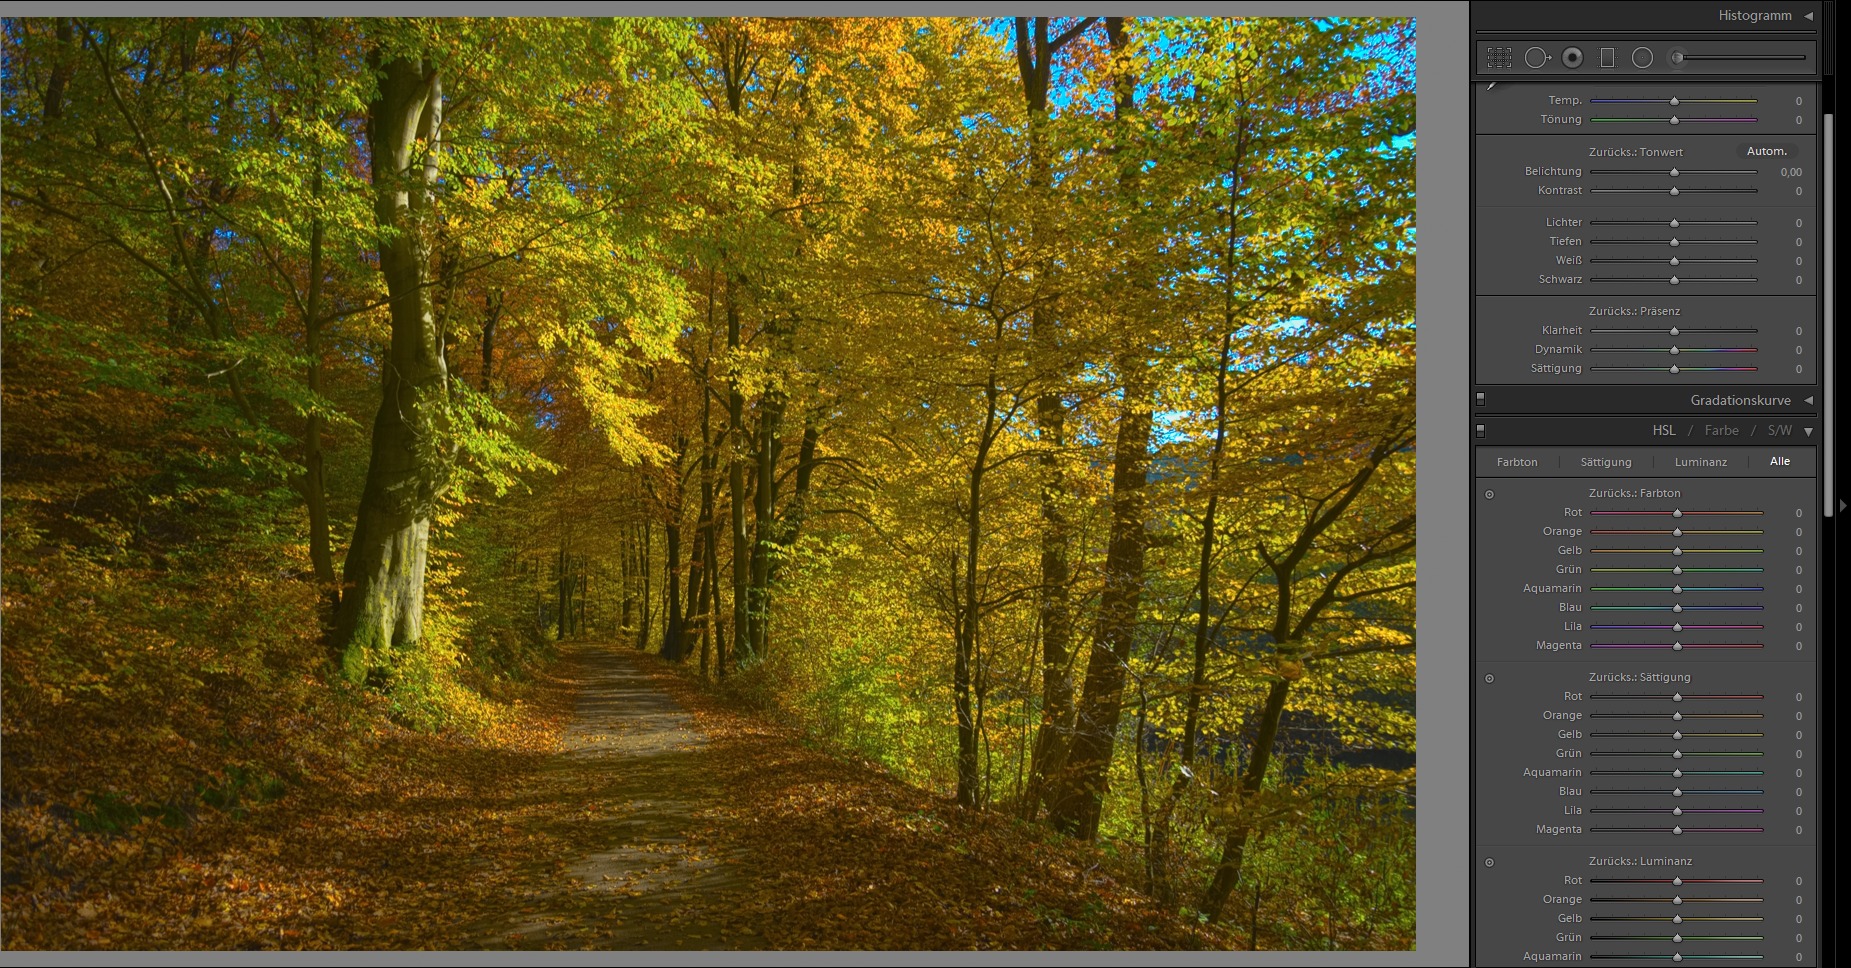
That's the photo I'm going to use in this tutorial. It was taken in late October in my hometown Wuppertal, Germany.
It's not that "autumny" that I want it to be... Many green or yellow leaves. Yes, of course, it's the golden October, but I will change the colors of the forest in the next steps.
Without the use of chemicals!
Please, also take a look on the left hand sided control elements.
Step 2: Changing the hue
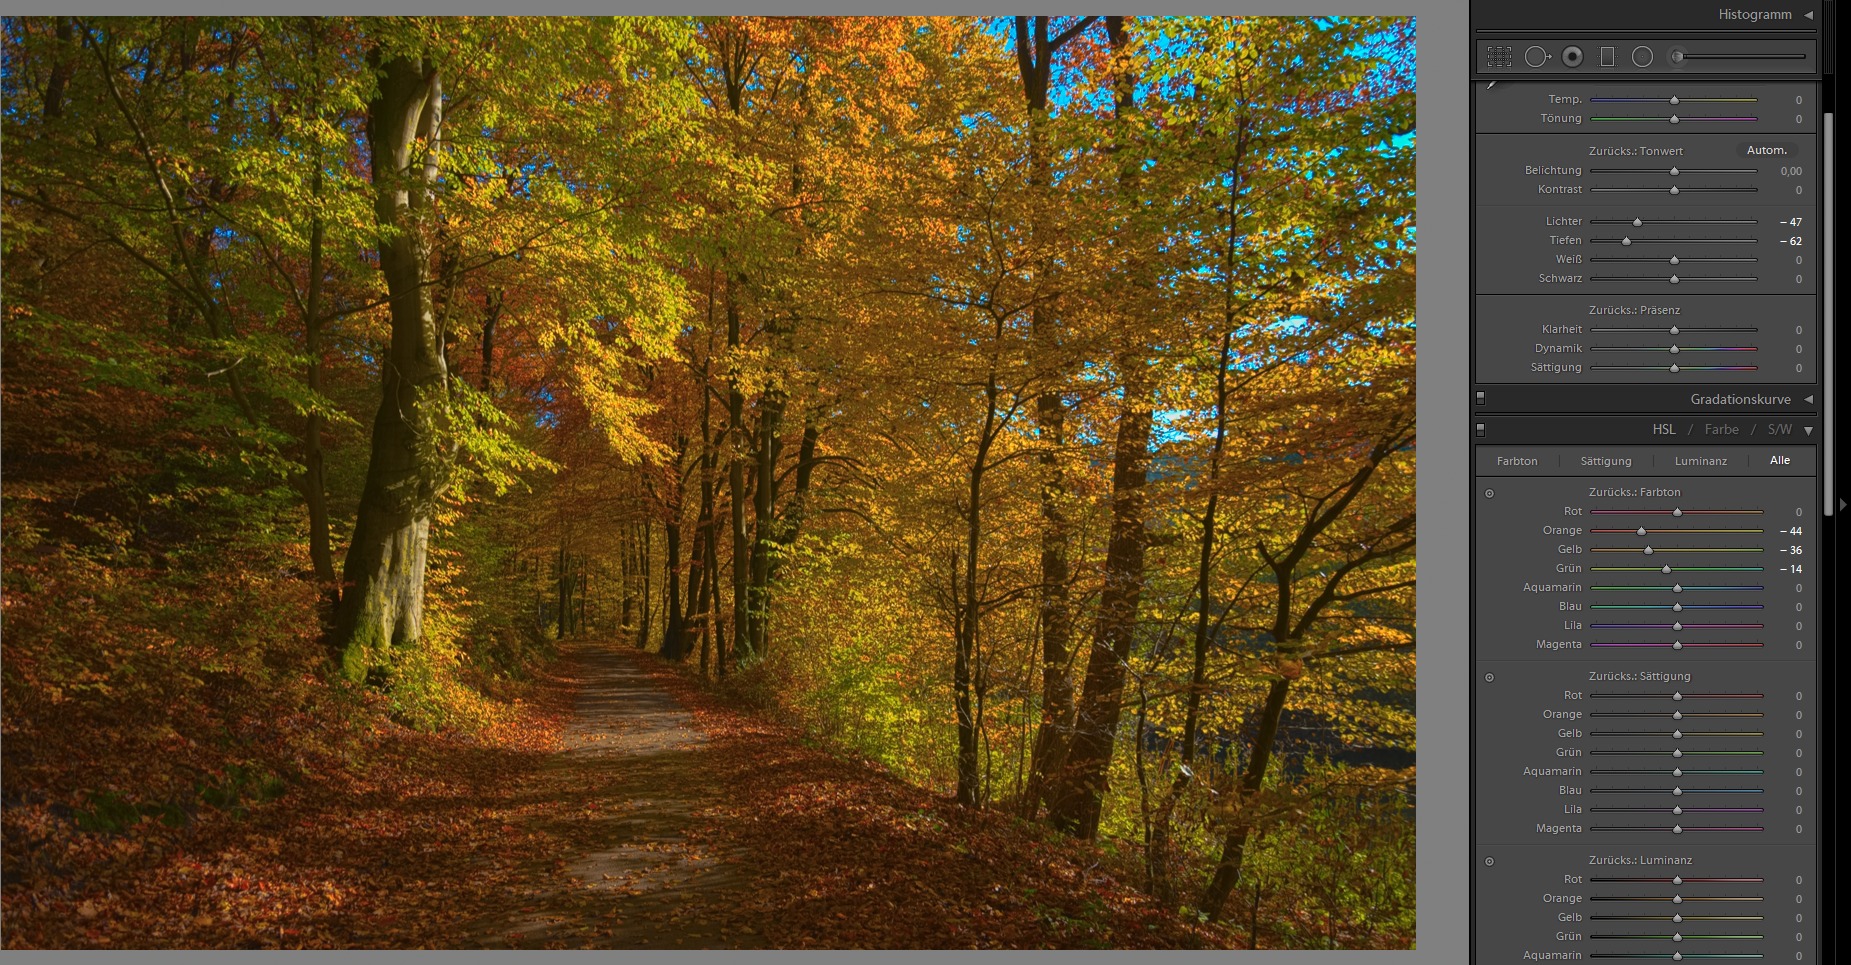
You can selectively vary the hue for each color in the picture. In this photo, I made changes to yellow, orange and green tones to turn them into warmer tones.
The optimal settings are heavily depending on your photo, so you have to play around to get a realistic picture.
Additionally, I turned the overall highlights of the picture a bit down so the leaves get a plain brightness without any too bright spots.
By darkening the overall shadows, the tree's shadows are brought out a bit and (even better) the latent fog in the picture went away.
Sorry, I made these screenshots with a germany version of Lightroom. The settings titled with "Farbton" are the hue controls, "Tiefen" translates with "shadows" and the "Lichter" control sets the "highlights".
Step 3: Luminance and saturation – autumn is coming!
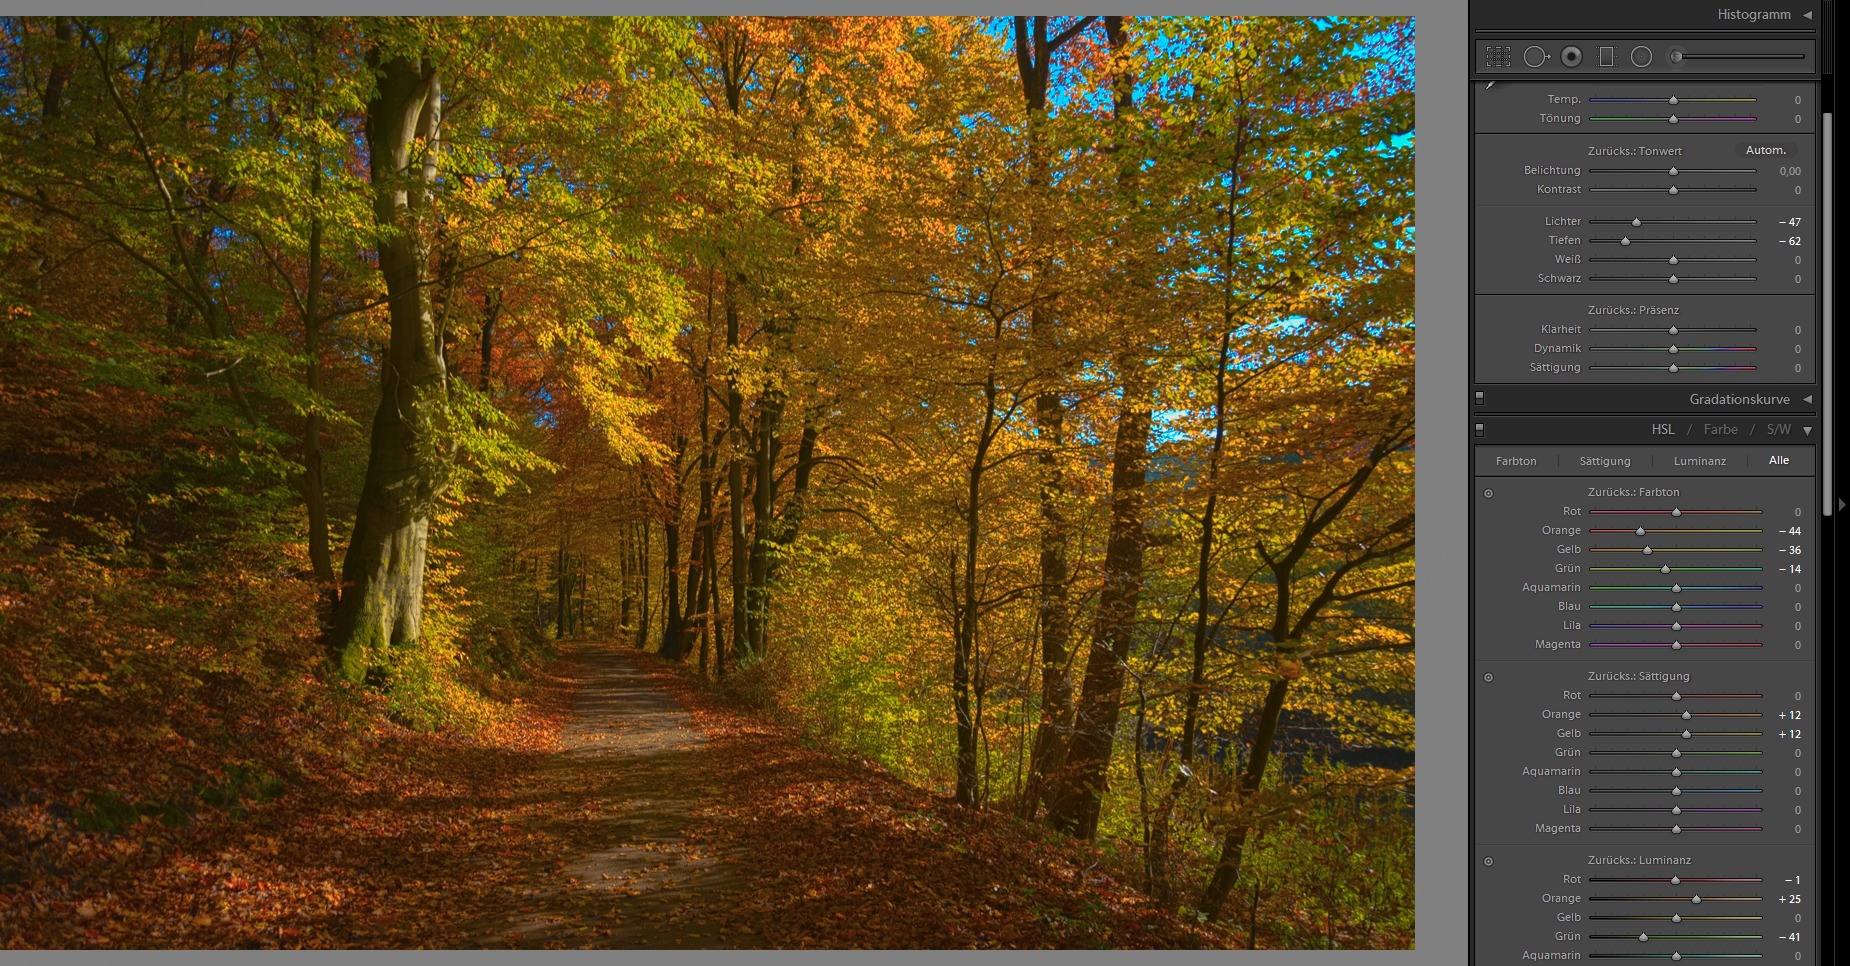
Luminance is the value of the brightness and luminosity a color is perceived. By lowering the luminance setting for green tones, the green leaves on the trees are getting darker and a less presence in the picture.
I also changed the saturation settings (in the screenshot "Sättigung") for orange and yellow tones to turn them up a bit. Again, to find the settings that fit best to your picture, you need to play around a bit.
Step 4: Color and exposure
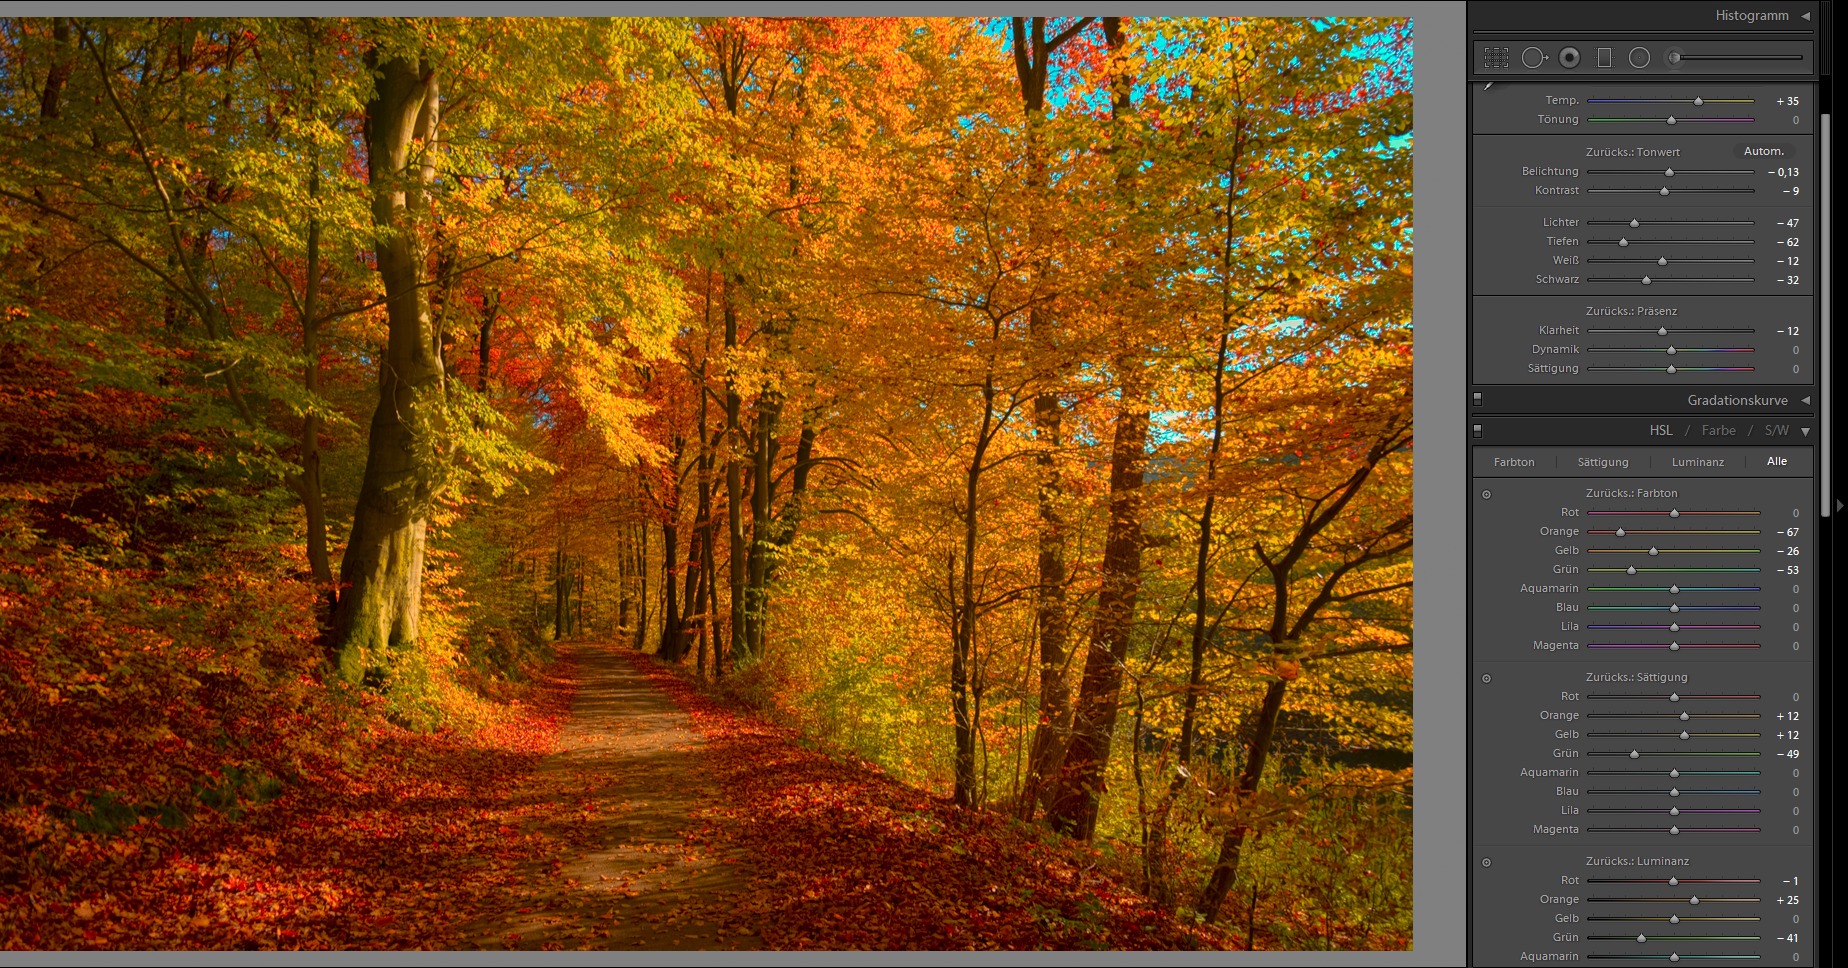
Unfortunately, the picture is still a bit too dark and is a bit too melancholic. If you don't like it that way you can use the exposure settings (in the screenshot "Belichtung") to give more brightness to the photo.
I also lowered the contrast setting and got smoother transitions between the leaves of the forest.
If it's not enough for you, you can also play around with the temperature settings to get overall warmer tones - but this tends to be very soon very unrealistic.
Based on the old Mythbusters slogan "If you do something, then exaggerate it!" I turned all settings to the maximum volume and got a So-romantic-that-I-need-to-vomit forest photo.
OK, the picture used in this tutorial has several flaws visible to experts ;-)
But it's definitely a good one to show you how photos are being manipulated to show you a romantic forest in autumn that was photographed in July. Or something...
Questions? Suggestions? Critics?
I don't have a comments section, but you are invited to write me an e-mail (english or german): feedback+lightroom@maxderdepp.de :-)